Archive | March 2011

Works For Me Wednesday – Curling Ribbon

I love all of the tips I’ve learned from other people’s WFMW, so I figured I would do one, too.

I am not what I would consider “crafty”.  I am not very good at scrapbooking, redesigning furniture, making neat artwork.  I don’t have fancy dowel ribbon holders.  I just keep them in baskets.  I do ok with cookies, but that’s about the extent of it.

So individually wrapping cookies, which should be easy, is somewhat of a challenge for me.  Sometimes I think this step takes longer than decorating.    Because of this, I’m always looking for things to make this step easier and faster.  Now this may be common sense for most of you, but it was a total AHA moment for me (which is kind of sad if I really think about it).

So, what is this glorious time-saver that I have discovered?  Well, let me start at the beginning.

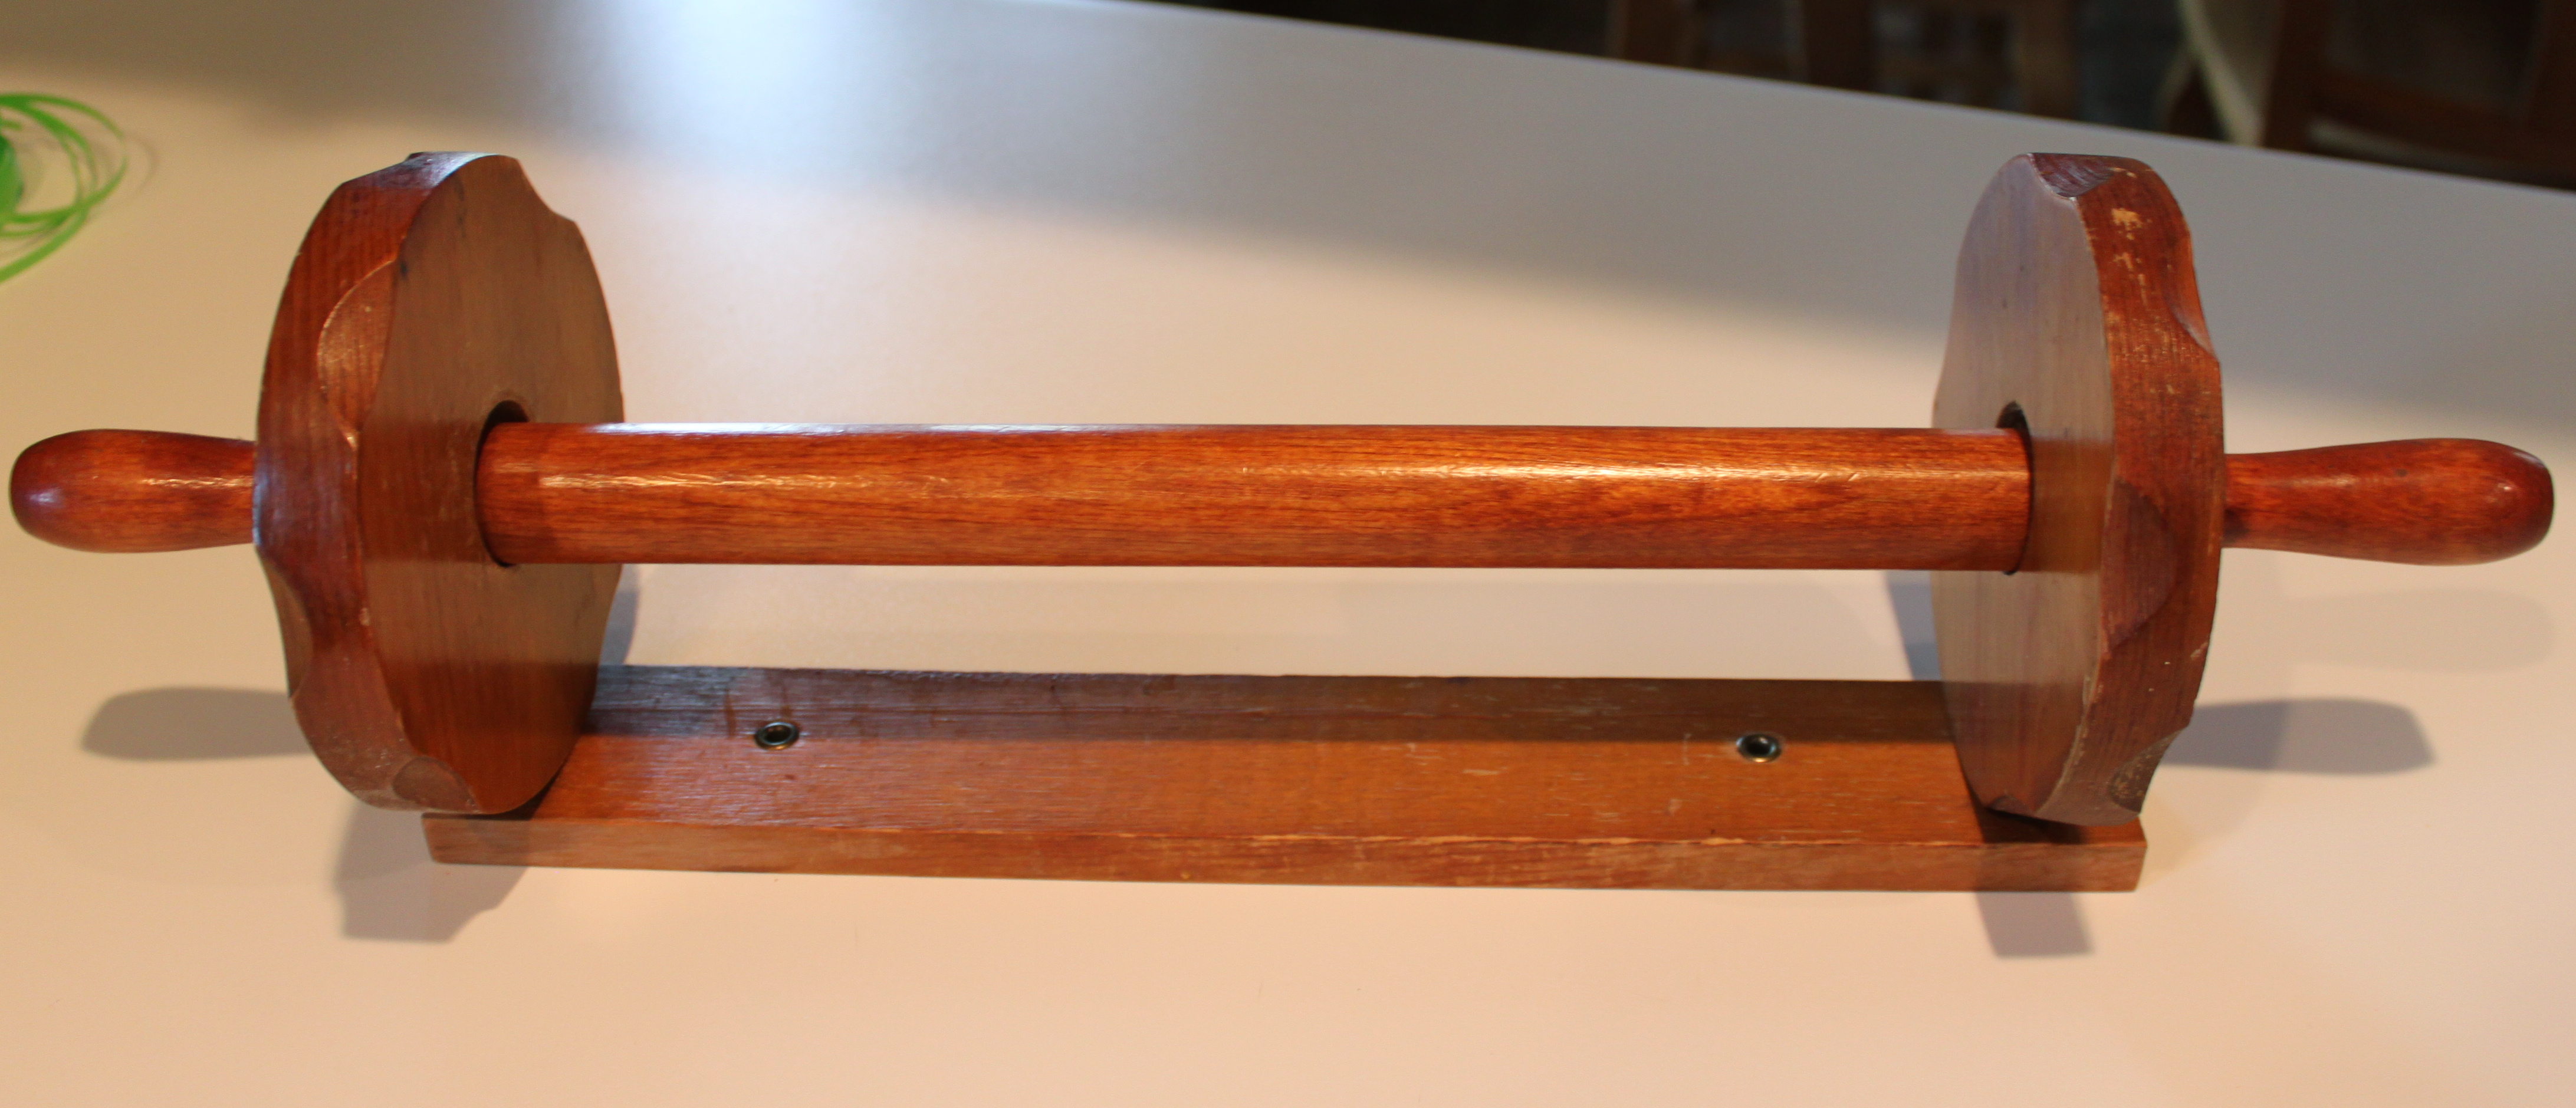
We are redoing our kitchen.  It was decorated in 1969 and has been trapped there ever since.  We are slowly but surely bringing it into this century.  A few weeks ago, I removed an old wooden paper towel holder (the kind that mounts to the bottom of the cabinet).

I was going to get rid of it, but I wondered if I could find some use for it.  So I set it aside.

About a week later, I was getting ready to wrap some cookies, and I saw it laying in the corner.  What about curling ribbon rolls?  Would that fit around the rod?

Sure enough!

I placed it on a spot on the counter and pulled the ribbon to the end of the counter.

Then I would cut it, giving me ribbon pieces that were all the same size.  No measuring required!

Now, let me explain to you my old method so you can fully appreciate this revelation.

I would set the ribbon upright.  When I pulled it out, it would often times move the roll, which did not make for equal length ribbon pieces. Also, sometimes the ribbon would get tangled at the bottom of the roll, so I would have to stop and untangle it.  This happened about every 5-6 pieces.  Not very time efficient and extremely frustrating!

Anyways.  Not rocket science, but I’ve done it twice now this way and it has been SO much faster and no tangling!  So it now qualifies as my new method.

Have fun finding what works for you!

Let’s start at the very beginning…

Two years ago today is when it all started.

What’s so special about March 1st that I would start baking?  My husband’s birthday.  And for some reason, two years ago, I decided that I wanted to make him a cake that was not out of a box and a tub.  I don’t know why I wanted to do that.  It wasn’t a monumental birthday.  I just felt like it deserved something different.  So to the internet I went.

I wanted to stick with his favorite – yellow cake with chocolate icing.  I just wanted something with more pizazz than my traditional 9×13 pan.  I had heard about this baking site called “Bakerella” (ever heard of her? ;-)  I went digging through her site, and there it was.  A fourteen-layer yellow cake with chocolate icing.  Yes, you read that right.  FOURTEEN layers.  That’s 13 more than I’d ever made before.  But I was feeling adventurous, so why not.  I banned everyone from the kitchen and got started.

Since this was my first attempt at a “real” cake, I had to buy everything.  I didn’t have a thing.  I even had to buy a mixing bowl because I didn’t have one big enough to hold so much batter.  Bakerella used 14 disposable aluminum cake pans, rather than using 3-4 regular pans and washing in between.  Since I didn’t even own 9-inch cake pans, I went with that option, also.  Plus, then I could just throw everything in the trash when I was done.  So here they are.  All 14, dressed and ready to go.

Thankfully, I have a double oven, so I was able to cook 6 at a time.  Then they have to cool, of course.  But since I had never made a cake that required being removed from the pan, I also didn’t own any cooling racks.  Thankfully, my neighbors did.

Now for the fun part.  The chocolate sauce. I could have buried my face in the pot.

Assembling the cake was the biggest challenge.  Since the layers were almost like pancakes, leveling wasn’t an issue. (Thankfully, because I wouldn’t have had a clue how to do that).  I just stacked a layer, then poured on the chocolate sauce.

Stacked another layer.  Poured more chocolate.

Then even more layers!

The original recipe called for you to just leave the cake like this, just smoothed out a bit.  But, I liked the way Bakerella’s final cake looked (iced) so I went that route, too.  I used her recipe for the chocolate icing.

Now I know this is no work of art  (and my photography skill are equally stunning). There were no decorations of any kind on the outside.  Not even a trim at the bottom.  (And yes, my oven is green.  Don’t judge.  I’m working on it). But the magic happened when you cut into it.

WOW!

This cake took me over 8 hours to make.  And it weighed in at almost 9 pounds.  But I was hooked. I caught the baking bug, and there was no turning back.

So today is his birthday again.  I’m only making 2 layers this year (still yellow with chocolate icing) but I will actually decorate it with something other than a candle in the shape of some numbers.

Happy Birthday, my love.  And thank you for continuing to inspire me in so many ways.